Hidden Water Damage Behind Walls: Signs, Mold Remediation, and How It’s Repaired
Water damage inside walls often goes unnoticed until the damage becomes significant. What may appear to be a small issue on the surface can sometimes reveal a much larger problem once drywall is opened.
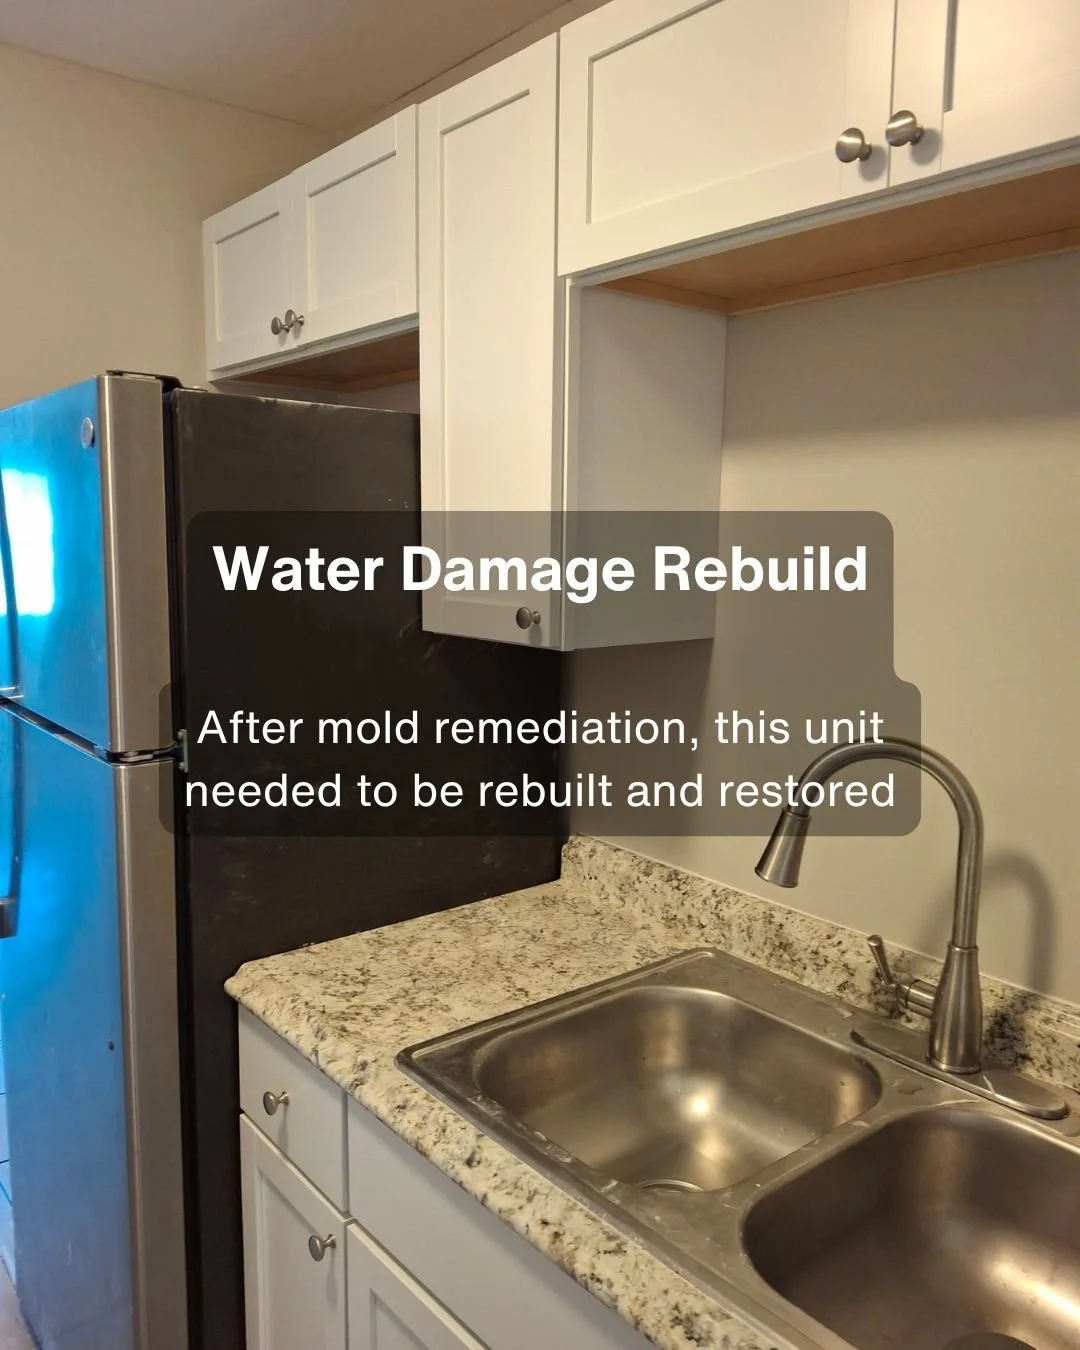
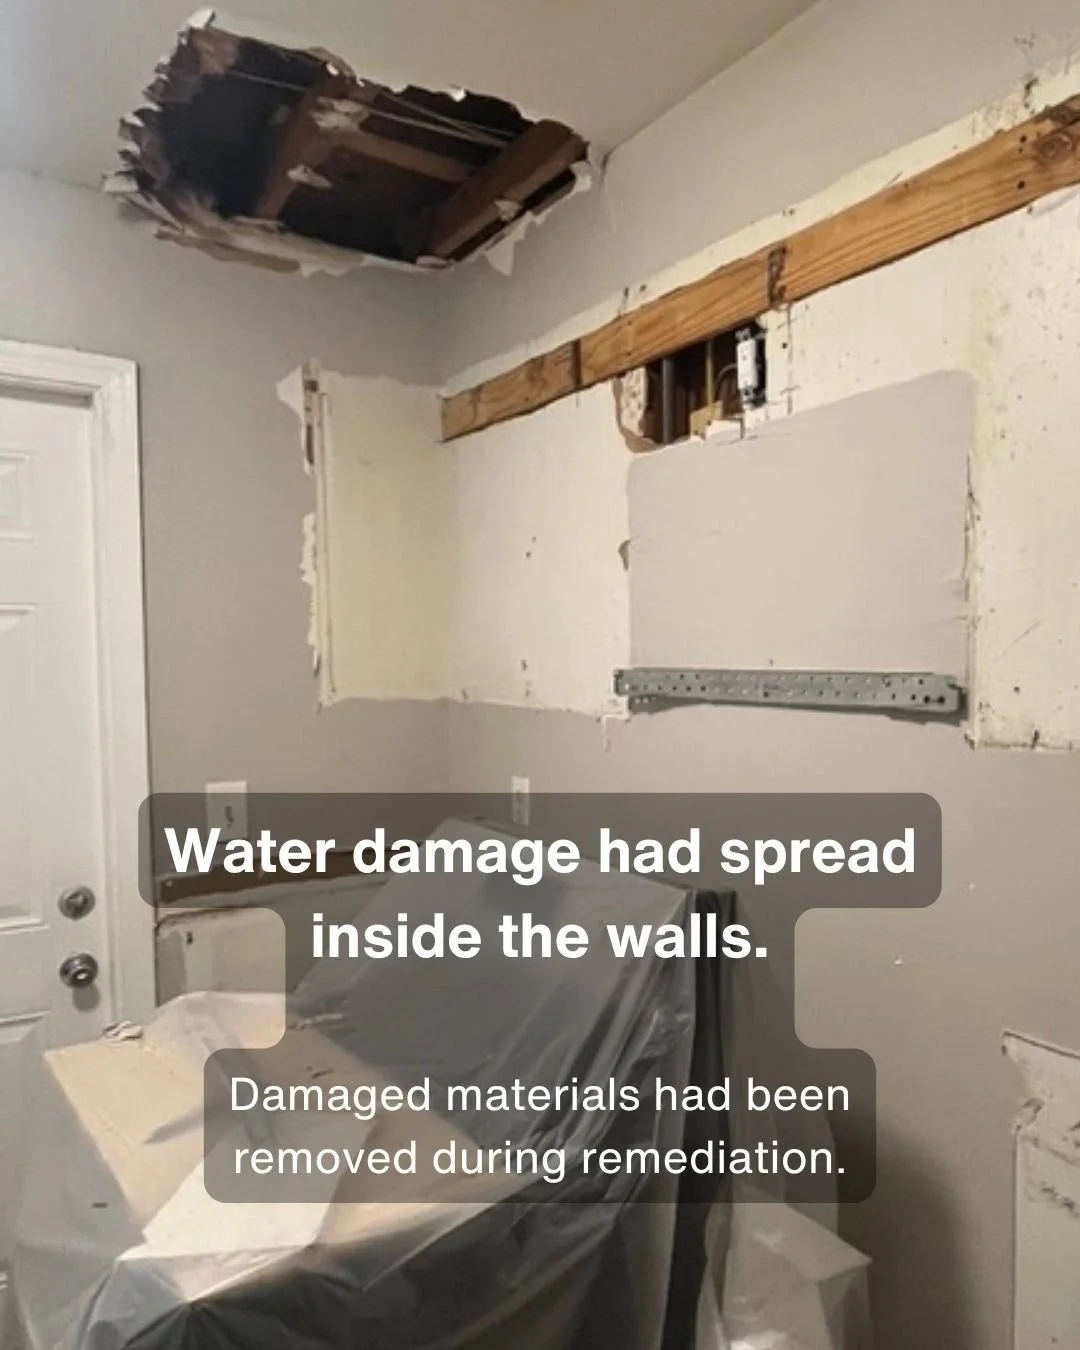
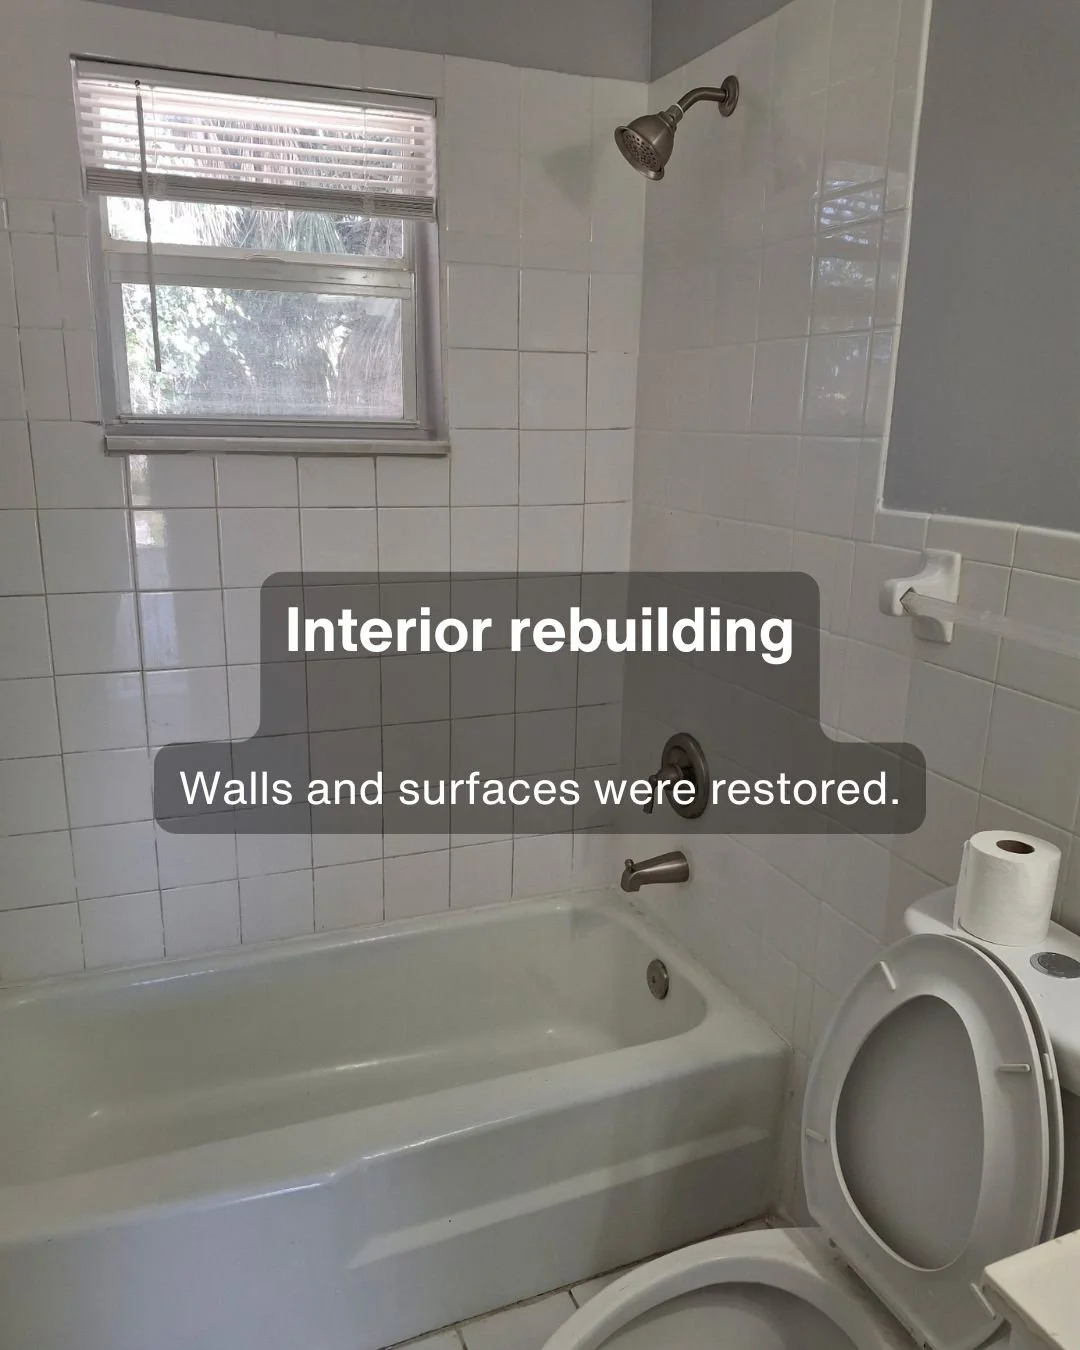
In a recent rebuild project, hidden moisture inside a wall and ceiling cavity caused significant damage to surrounding materials. Before reconstruction could begin, remediation specialists removed contaminated drywall and insulation.
Why Water Damage Behind Walls Is Hard to Detect
Unlike visible leaks or flooding, hidden water damage develops slowly. Moisture can enter a wall cavity through small plumbing leaks, failed seals, or condensation, and remain trapped behind finished surfaces.
Over time, this trapped moisture can lead to:
Rotting wood framing
Deteriorating drywall and insulation
Mold growth inside wall cavities
Structural weakening of surrounding materials
Because drywall and finishes hide these conditions, the damage may go unnoticed until staining, odors, or soft spots begin to appear.
When Mold Remediation Is Necessary
When moisture remains inside a wall cavity long enough, mold can begin to grow on organic materials such as wood framing, drywall paper, and insulation.
In situations like this, remediation specialists are often brought in first. Their role is to safely remove contaminated materials and prevent spores from spreading to other areas of the home.
Typical remediation steps include:
Installing containment barriers to isolate the affected area
Removing damaged drywall and insulation
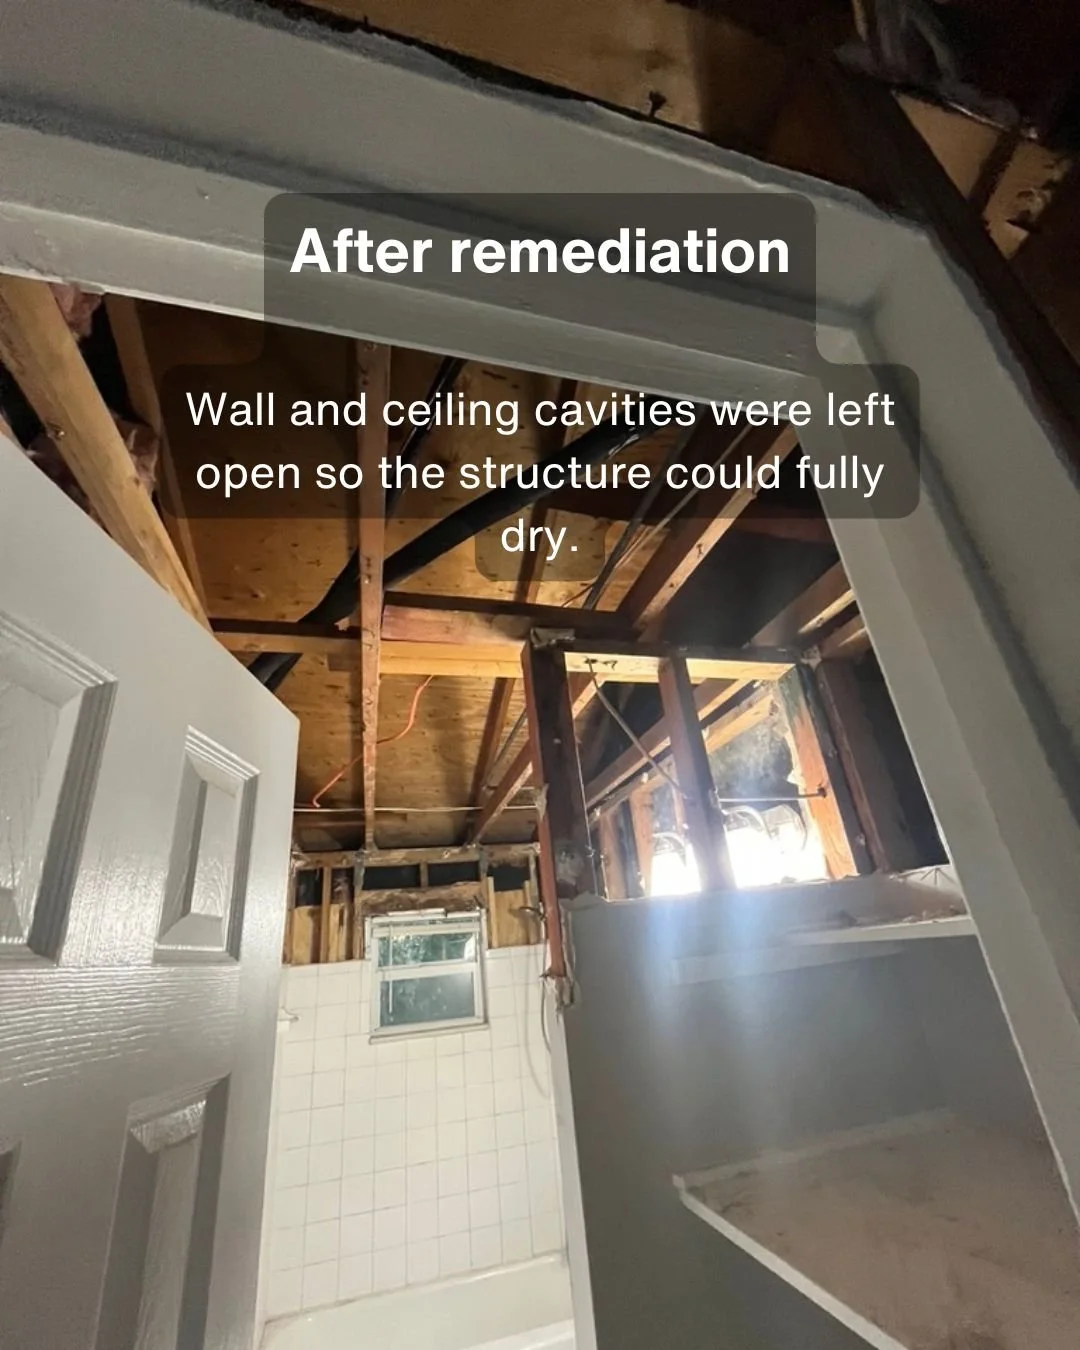
Cleaning and treating exposed framing
Allowing the structure to fully dry before rebuilding begins
Only after the remediation process is complete can reconstruction safely start.
What Happens After Remediation
Once remediation is finished and the structure has fully dried, the rebuilding process begins.
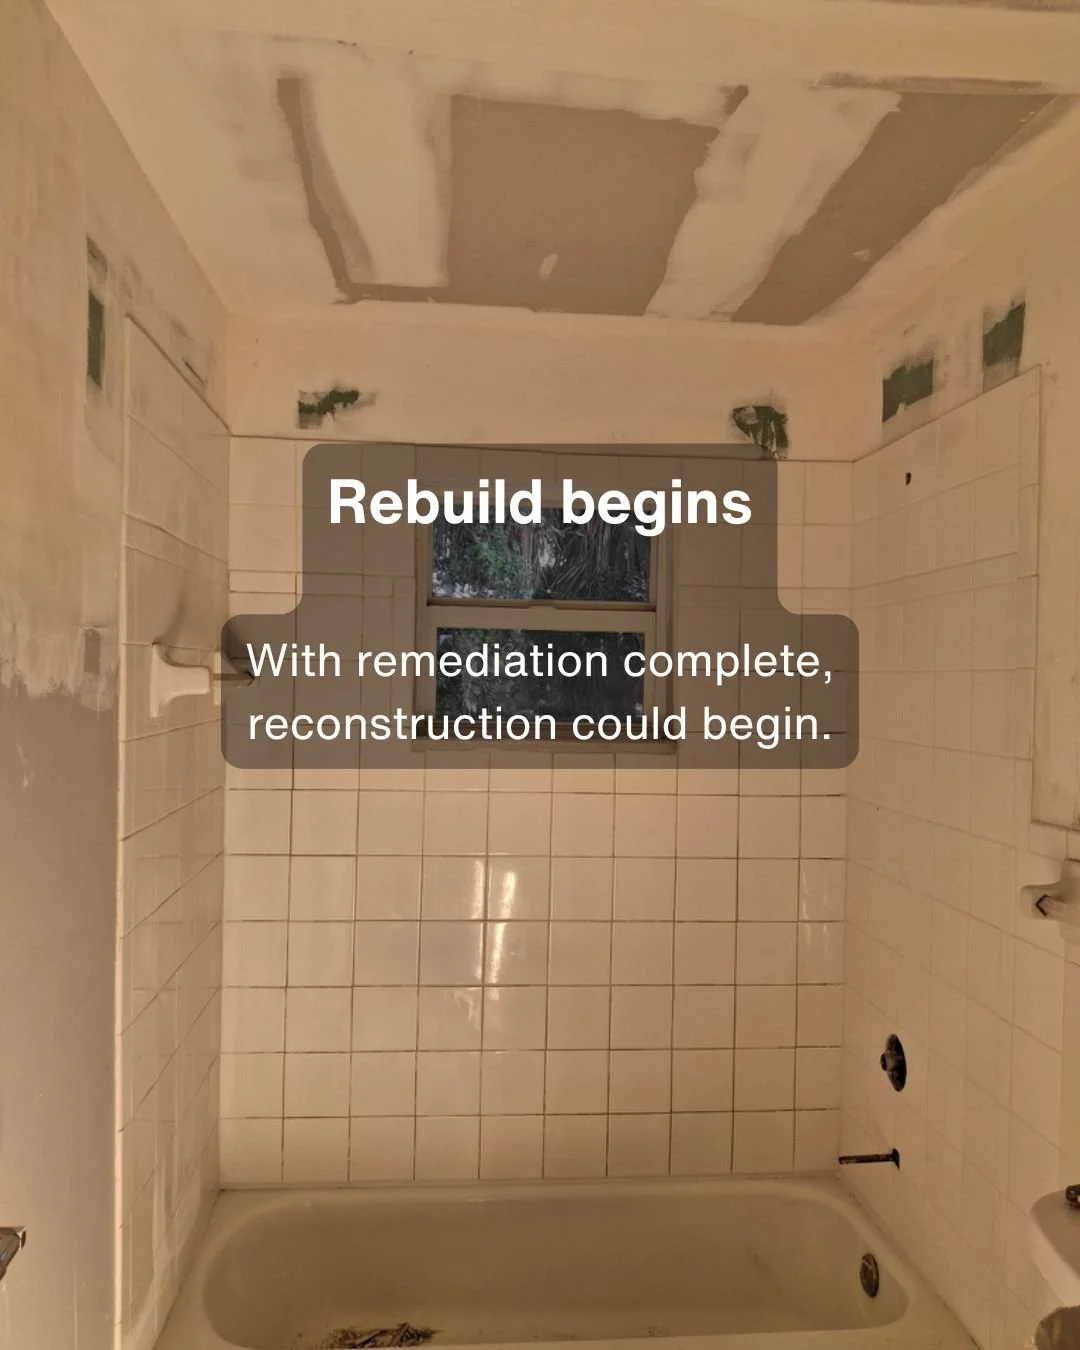
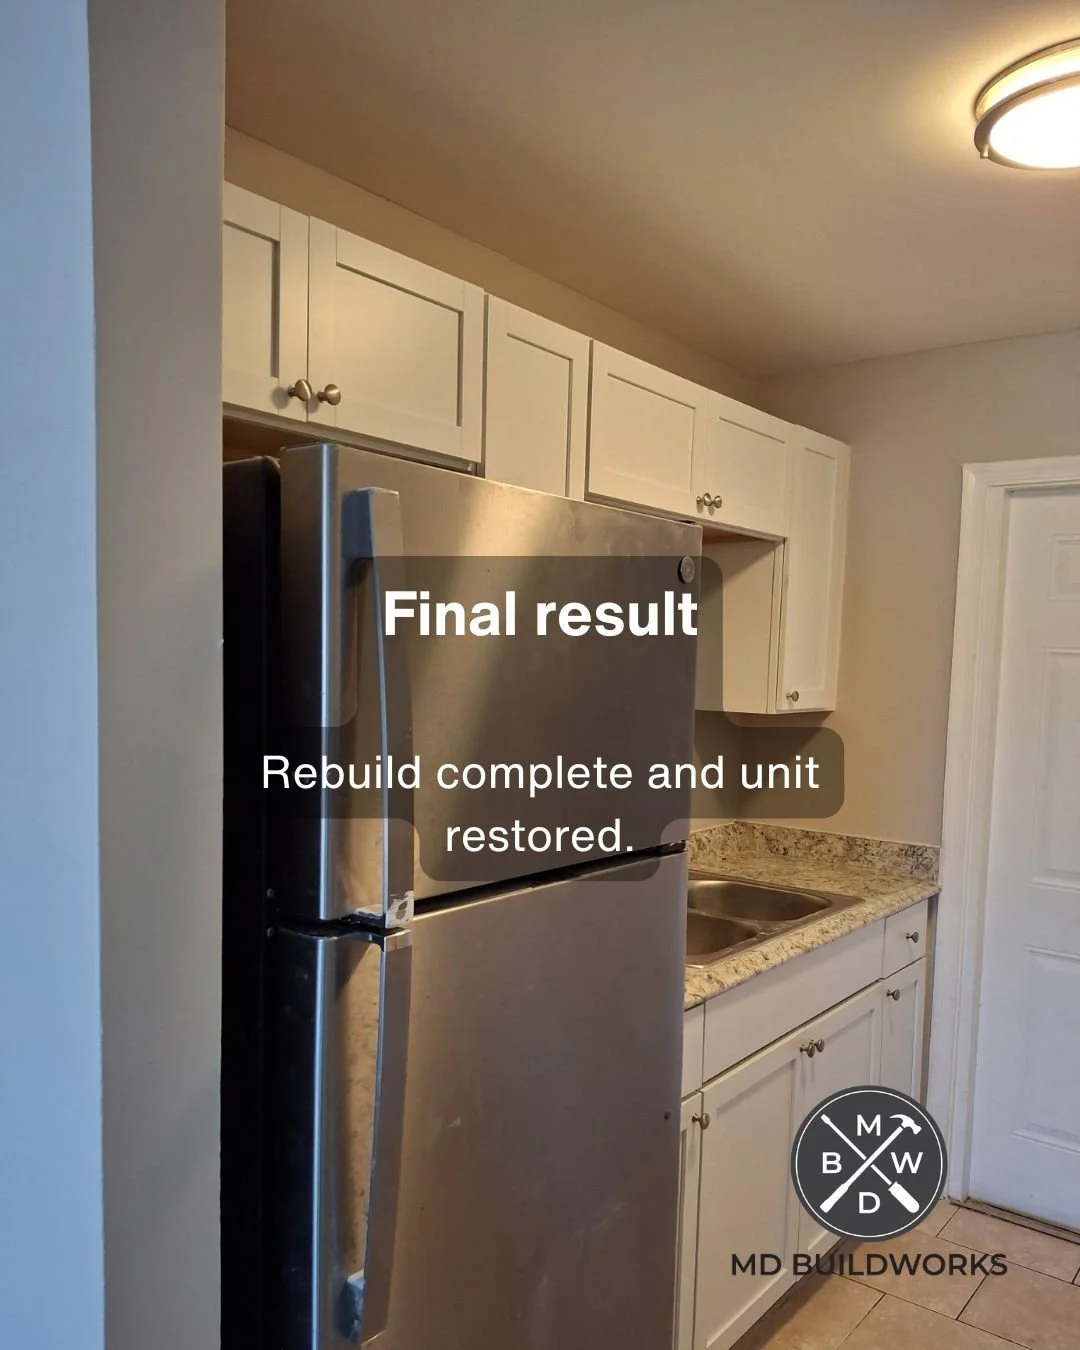
At this stage, the focus shifts to restoring the structure and finishes that were removed during the remediation process.
Typical reconstruction steps may include:
Repairing or reinforcing framing if necessary
Installing new drywall and insulation
Restoring interior finishes such as paint or cabinetry
Ensuring the repaired areas are properly sealed and protected
In the project shown here, the space was rebuilt after remediation so the unit could be returned to normal use.
Why Acting Early Matters
One of the most important lessons from water damage repairs is that early detection makes a major difference.
Small leaks can quickly turn into larger structural problems when moisture remains hidden behind finished surfaces. Addressing water intrusion early can prevent extensive demolition, remediation, and reconstruction.
If you notice signs such as:
unexplained stains on walls or ceilings
soft drywall or bubbling paint
persistent musty odors
moisture near plumbing fixtures or cabinets
it may be worth having the area inspected before the damage spreads further.
Water damage repairs often involve more than simply replacing drywall. When moisture reaches structural components or leads to mold growth, remediation and reconstruction must be handled carefully to ensure the space is fully restored.
Understanding the process—from identifying hidden damage to rebuilding after remediation—can help homeowners make informed decisions when problems arise.